You will need the following parts:
- 1x 3,3V Arduino Pro Mini clone like this.
- 2x cheap 5050 Led Rings with 16 Leds like this.
- 1x 18650 lithium battery with 3,7V
- 1x 18650 battery holder
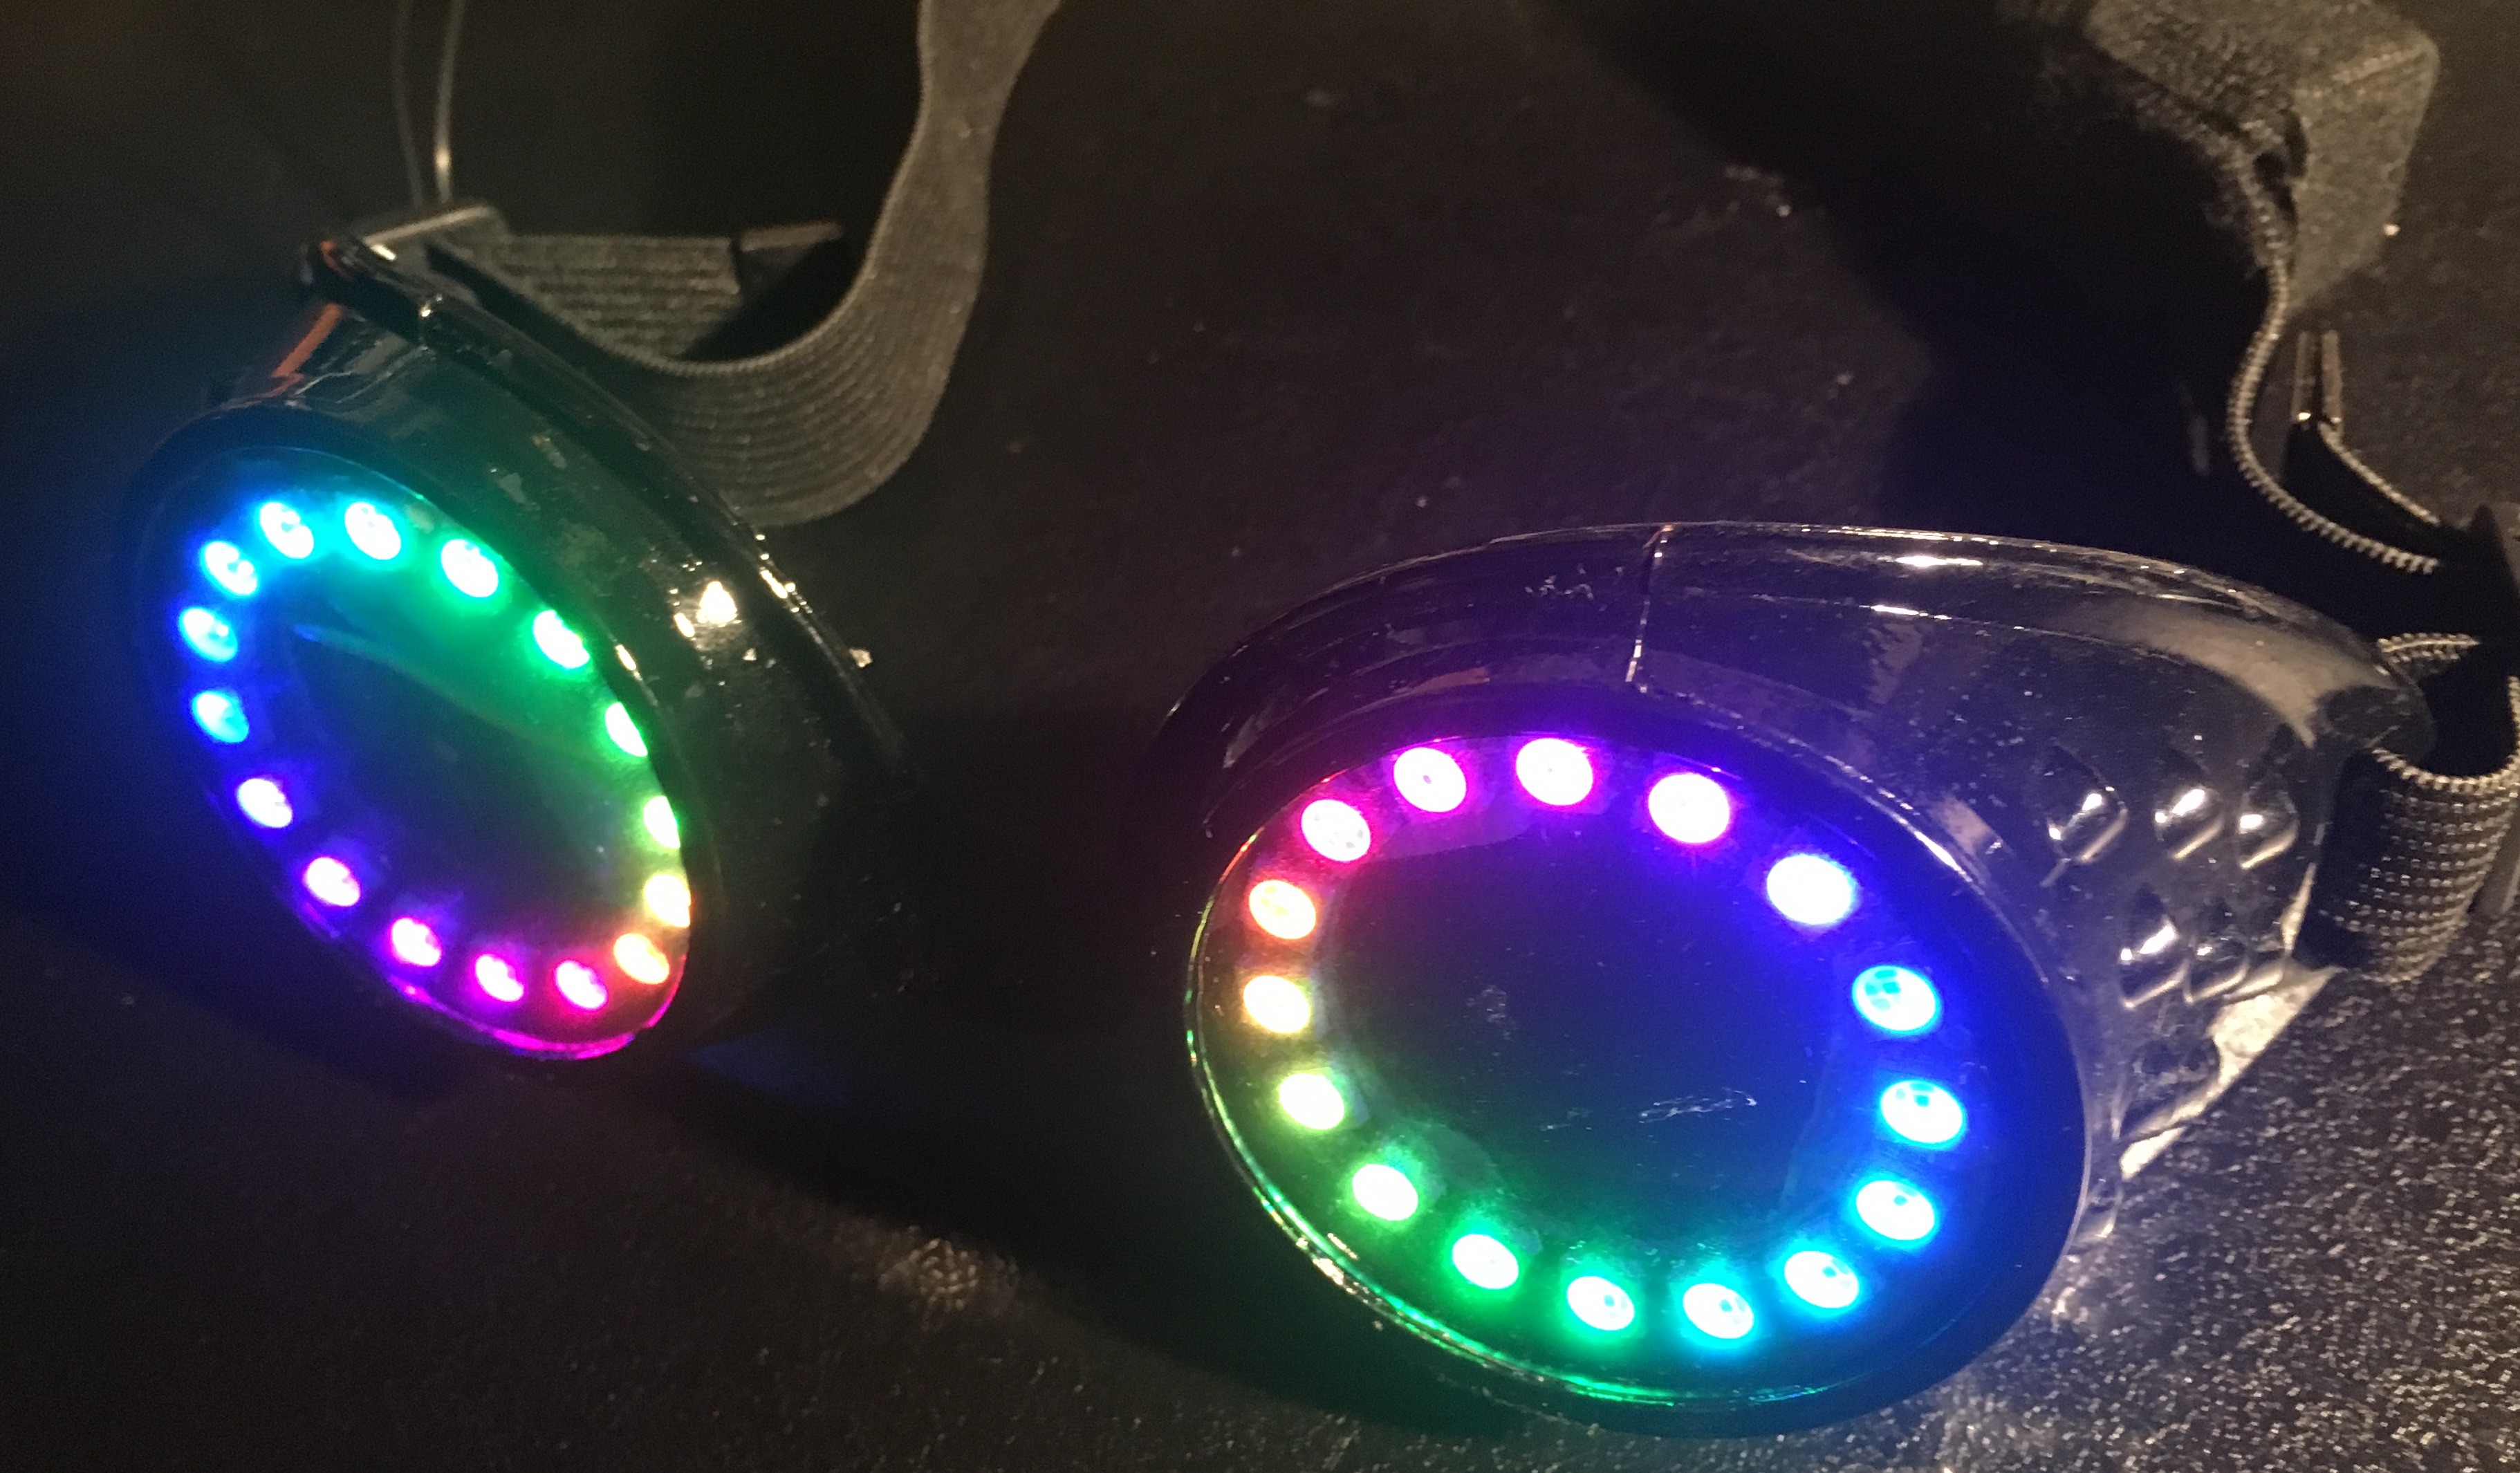
- 1x steampunk goggle
- 1x FTDI Adapter FT232RL USB zu TTL
- a little bit of wire
Power-related Pins
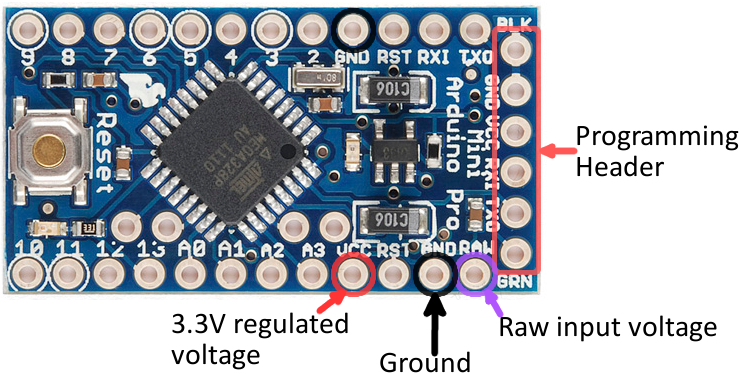
- First is VCC, the 3.3V, we will use it for powering our LED-rings.
- Second is GND, the the ground reference (0V)
- And the third is RAW, we use it as Arduino Pro Mini power supply.
Use RAW for powering the Arduino with the 18650 Litho Battery
VCC will be connected to the VCC of the LED-ring
*GND will be connected to the GND of the led ring and the second will be connected to the Arduino Pro Mini.
In my code i used PIN 5 for connecting the Led rings to the Arduino Pro Mini. It will be connected to the the IN at the LED ring.
OUT will be connected to IN on the second LED ring, GND And VCC will be connected together with GND and VCC on the second LED ring.
For connecting your Arduino Pro Mini with the Computer to program it u need the FTDI FT232RL USB zu TTL Adapter. Be careful to put the jumper pn the 3,3 pin otherwise u would fry your Arduino Pro Mini.
In the Arduino IDE use for Board: “Arduino Pro or Pro Mini”, for Processor ATmega it depends what chip your Arduino has “ATmega328P” or “ATmega186” but since we use 3,3V Arduno Pro Mini, its 3,3V.
This is the code I used for my Arduino Pro Mini powered goggles.
include <Adafruit_NeoPixel.h>

#define PIN 5

// Parameter 1 = number of pixels in strip
// Parameter 2 = pin number (most are valid)
// Parameter 3 = pixel type flags, add together as needed:
//   NEO_KHZ800  800 KHz bitstream (most NeoPixel products w/WS2812 LEDs)
//   NEO_KHZ400  400 KHz (classic 'v1' (not v2) FLORA pixels, WS2811 drivers)
//   NEO_GRB     Pixels are wired for GRB bitstream (most NeoPixel products)
//   NEO_RGB     Pixels are wired for RGB bitstream (v1 FLORA pixels, not v2)
Adafruit_NeoPixel strip = Adafruit_NeoPixel(16, PIN, NEO_GRB + NEO_KHZ800);

void setup() {
  strip.begin();
  strip.setBrightness(30); //adjust brightness here
  strip.show(); // Initialize all pixels to 'off'
}

void loop() {
  // Some example procedures showing how to display to the pixels:
  colorWipe(strip.Color(255, 0, 0), 50); // Red
  colorWipe(strip.Color(0, 255, 0), 50); // Green
  colorWipe(strip.Color(0, 0, 255), 50); // Blue
  rainbow(16);
  rainbowCycle(16);
}

// Fill the dots one after the other with a color
void colorWipe(uint32_t c, uint8_t wait) {
  for(uint16_t i=0; i<strip.numPixels(); i++) {
      strip.setPixelColor(i, c);
      strip.show();
      delay(wait);
  }
}

void rainbow(uint8_t wait) {
  uint16_t i, j;

  for(j=0; j<256; j++) {
    for(i=0; i<strip.numPixels(); i++) {
      strip.setPixelColor(i, Wheel((i+j) & 255));
    }
    strip.show();
    delay(wait);
  }
}

// Slightly different, this makes the rainbow equally distributed throughout
void rainbowCycle(uint8_t wait) {
  uint16_t i, j;

  for(j=0; j<256*5; j++) { // 5 cycles of all colors on wheel
    for(i=0; i< strip.numPixels(); i++) {
      strip.setPixelColor(i, Wheel(((i * 256 / strip.numPixels()) + j) & 255));
    }
    strip.show();
    delay(wait);
  }
}

// Input a value 0 to 255 to get a color value.
// The colours are a transition r - g - b - back to r.
uint32_t Wheel(byte WheelPos) {
  if(WheelPos < 85) {
   return strip.Color(WheelPos * 3, 255 - WheelPos * 3, 0);
  } else if(WheelPos < 170) {
   WheelPos -= 85;
   return strip.Color(255 - WheelPos * 3, 0, WheelPos * 3);
  } else {
   WheelPos -= 170;
   return strip.Color(0, WheelPos * 3, 255 - WheelPos * 3);
  }
}